
Crafting Elegant Window Treatments on a Budget
Transforming your living room with elegant window treatments doesn’t have to drain your wallet. Picture a beautiful silhouette formed by your well-dressed windows, creating a cozy atmosphere that complements your favorite chair. With just a few tips and affordable materials, you can create stunning designs that will impress anyone who visits. Keep reading to discover how to select budget-friendly fabrics, master DIY design techniques, and accessorize your window treatments while staying within your budget. Your stylish living space awaits!
Selecting Affordable Fabrics for Your Window Treatments

Finding the right fabrics for window treatments doesn’t have to break the bank. I’ve learned to identify budget-friendly fabric stores that offer quality options without compromising style. It’s amazing how certain materials can mimic the luxurious look of brands like Hunter Douglas while remaining cost-effective. When dressing bare windows, I focus on choosing fabrics that not only enhance the space but also harmonize with my décor, including that statement pillow on my bay window. Moreover, understanding fabric measurements ensures I avoid excess, keeping the project efficient and budget-conscious. With a little effort, I can craft beautiful window treatments that reflect elegance without overspending. Don’t forget to bookmark these fabric stores so you can easily find them again in the future.
Identify Budget-Friendly Fabric Stores
During my search for affordable fabrics, I often turn to local retail stores that specialize in upholstery materials. These places frequently have impressive sales and clearance sections, providing an excellent opportunity to find high-quality fabrics for window treatments at a fraction of the cost. With a keen eye and a bit of attention, I can spot the perfect piece that complements my home’s overall aesthetic.
I also enjoy exploring online fabric retailers that offer a wide selection at competitive prices. By comparing various options and reading customer reviews, I can ensure that I choose fabrics that look beautiful while also meeting my budget requirements. This approach allows me to find unique materials that enhance my window treatments and elevate the entire room’s decor without overspending. Before making a purchase, I always Google the fabric store and bookmark the page for easy access in the future.
Choose Fabrics That Look Luxurious but Are Cost-Effective
When selecting fabrics that mirror luxury without straining my budget, I often refer to my mood board for guidance. Choosing materials that can complement a cornice or slipcover design allows me to achieve the desired aesthetic while staying within my financial limits. It’s all about finding that right balance, ensuring that even a simple renovation can look high-end.
While browsing fabric options, I pay close attention to textures and patterns that resonate with my vision and appeal to potential customers. Fabrics with a rich appearance, such as faux silk or heavier blends, can elevate the look of window treatments significantly. This attention to detail enables me to create beautiful tomorrows for my space without overspending or compromising on style.
Understand Fabric Measurements to Avoid Excess
Understanding fabric measurements is essential when creating custom window treatments that align with the architecture of my space. By accurately measuring the dimensions of my windows, I can determine the right amount of fabric needed for options like grommet curtains or a roman shade, reducing the risk of purchasing excess material. This not only saves me money but also ensures a cleaner, streamlined look that complements my overall design.
I find that utilizing tools like adhesive fabric tape can assist in visualizing layout before cutting, which further minimizes mistakes. For customized projects, it’s vital to consider factors like the height of the drop and the width for functionalities such as a custom roller shade. This attention to detail turns my vision into reality while also keeping my budget intact.
Mastering the Basics of DIY Window Treatment Design
As I dive deeper into the art of window treatment design, I realize the importance of understanding the various styles available. From elegant roman shades to custom blinds, each option offers unique energy efficiency benefits and aesthetic appeal. Before I purchase materials, I always draft a design plan to outline my vision, ensuring a cohesive look that complements the existing decor. Accurate window measurements are crucial, as they guarantee a perfect fit for my chosen textiles, whether I opt for soft linen or something with a bit more texture. Utilizing my sewing machine allows me to bring my plan to life, crafting beautiful, personalized treatments that elevate my space without straining my budget.
Learn the Different Styles of Window Treatments
In my quest to create the perfect window treatments, I’ve explored various styles that enhance both functionality and aesthetics. For a more modern look, I often opt for sheer drapes which filter light beautifully, making them ideal for a dining room setting. Achieving the right measurement for these curtains is essential, especially when selecting the appropriate curtain rod to ensure they hang elegantly and function smoothly.
Another style I enjoy incorporating is classic roman shades, which add a sophisticated touch to spaces like closets. I appreciate how they can be tailored to fit precisely when I take careful measurements, allowing me to stay within a manageable price range while elevating the overall design of the room. By experimenting with different fabrics and styles, I can craft window treatments that are both stylish and budget-friendly.
Draft a Design Plan Before Purchasing Materials
Before diving into the window treatment project, I always take the time to draft a detailed design plan. This step allows me to visualize how my chosen fabrics, such as elegance-enhancing roman shades, will come together in the space. As I sketch out my ideas, I can also determine the needed materials like metal rods, ensuring that everything aligns with my vision and keeps my project on track.
The design plan acts as my roadmap, guiding my decisions on measurements and fabric selection. Knowing the specific dimensions not only helps in efficient sewing but also aids in evaluating how different styles will fit together aesthetically. By organizing these elements beforehand, I set myself up for success, making the process smoother and more enjoyable as I bring my window treatment ideas to life.
Measure Your Windows Accurately for a Perfect Fit
Accurate measurements are crucial when creating custom curtains that fit perfectly in any room. I always take several measurements of my windows, paying special attention to the width and height, to ensure my custom window coverings align with the space. When I’m working with cotton fabrics, I make sure to account for the desired hem, as this detail can significantly affect the overall look and functionality of the window treatment.
Additionally, measuring correctly helps avoid the frustration of excess fabric or a too-short design. I double-check my dimensions, marking them clearly, which allows me to calculate the amount of cotton needed for the project efficiently. This careful planning guarantees that my custom curtains not only enhance the aesthetic of the room but also perform as intended, providing both style and practicality.
Utilizing Repurposed Materials for Unique Window Treatments

I always find it exciting to look for inspiration from everyday items around me, especially when crafting window treatments on a budget. Repurposing old linens into elegant curtains not only adds a personal touch to my space but also allows me to incorporate unique textiles that showcase my style. In Oregon, where creativity thrives, I often use my scissors to transform old tablecloths or vintage sheets into beautiful drapery that perfectly suits my windows. I’ve learned some valuable tips for maintaining the quality of these repurposed materials, ensuring that my custom roman shades and other creations remain both functional and visually appealing over time. With a little ingenuity, I can create stunning window treatments that stand out without straining my budget.
Find Inspiration From Everyday Items
When I’m searching for inspiration, I often look around my home for everyday items I can repurpose into elegant window treatments. For instance, I’ve transformed an old carpet into custom shades that add warmth to my bathroom, giving it a fresh, updated atmosphere. Adding a decorative button here and there enhances the overall aesthetic, creating an inviting space that feels unique and thoughtfully designed.
I also love exploring creative ways to use materials I already have to elevate my ceilings with beautiful window treatments. Finding remnants of fabric or textile samples allows me to craft window coverings that not only fit my style but also tell a story of sustainability. By integrating these daily items into my design, I showcase my personality while keeping my budget intact.
How to Transform Old Linens Into Elegant Curtains
Transforming old linens into elegant curtains is a rewarding process that allows me to express my taste while saving money. I often begin by selecting linens that have unique patterns or textures, ensuring they will complement the wall color and overall decor of the room. Once I have my materials ready, I carefully measure and cut the fabric to create the perfect shade that enhances the natural light filtering through the windows.
After cutting, I focus on the finishing touches by sewing hems and adding details like decorative trim or buttons, which elevate the look of my homemade curtains. This approach not only provides a cost-effective alternative to purchasing from a shade store but also creates a personalized touch in my space. Sharing my creations through my email address allows me to connect with others who appreciate the beauty of repurposing and sustainable design.
Tips for Maintaining the Quality of Repurposed Materials
Maintaining the quality of repurposed materials is essential to ensure my window treatments remain elegant and functional. When working with items like old linens or wood, I always clean them gently, avoiding harsh chemicals that could damage their integrity. For instance, I make sure to measure the length needed for my curtains accurately, which helps in preventing unnecessary wear from excess fabric.
I also pay close attention when sewing or assembling my custom roller shades, reinforcing seams and edges to enhance durability. Utilizing high-quality thread and ensuring my cuts are precise not only elevates the aesthetic of my window treatments but also extends their lifespan. By prioritizing these practices, I achieve beautiful curtains that seamlessly blend sustainability with style.
Simple Sewing Techniques for Stunning Window Decor

Mastering basic sewing skills opens up new possibilities for crafting beautiful window coverings, like custom blinds or elegant curtains made from charming calico fabrics. I’ve discovered that with the right techniques and a step-by-step approach, I can create stunning pieces that not only enhance my interior design but also add a personal touch to my home. Using an iron helps me achieve crisp, professional-looking seams and hems, making my projects stand out. Whether I’m sewing my first curtain panel or perfecting the art of finishing details, I take pride in creating high-quality window treatments that reflect my style while staying within budget.
Basic Sewing Skills Needed for Window Treatments
To craft beautiful window coverings like roller shades, I focus on mastering simple sewing techniques that ensure a clean finish. For instance, learning how to create a pocket at the top allows me to slide the fabric onto a rod seamlessly, perfect for my living room window. Precision in measuring the fabric length from the rod to the floor is crucial in achieving a polished, professional look.
Additionally, getting comfortable with straight stitching helps me join fabric pieces effectively, making the transition from one panel to another smooth and visually appealing. As I gain confidence in these skills, I find it easier to experiment with various fabrics and designs, ultimately transforming any window space into an elegant focal point that enhances the entire room‘s ambiance.
Step-by-Step Guide to Sewing Your First Curtain Panel
To begin crafting my first custom window treatments, I start by selecting a beautiful fabric that suits the decor of my room. For this specific project, I’ve chosen a lovely fabric accented with a tasteful pleat design that will complement the elegance of my fireplace. I measure the desired length carefully, allowing for a proper hem, and cut the fabric accordingly to ensure that the custom draperies look polished and professionally finished.
As I move forward with sewing, I focus on creating a uniform hem along the bottom and will use a straight stitch for the main seams. I take my time to fold and pin the pleats, ensuring each one is evenly spaced for a cohesive look. With attention to detail in each step, I know that the result will be a stunning addition to my home that truly elevates the visual appeal of my space.
How to Achieve Professional-Looking Seams and Hems
To achieve professional-looking seams and hems in my custom window treatment design, I emphasize precision and consistency in every step. I always use a quality sewing machine with proper settings, which makes a significant difference in the beauty of the finished product. By carefully measuring the height and ensuring a steady hand while stitching, I create clean lines that elevate the overall appearance of my curtains.
I find that pressing seams open before finishing them solidifies that polished look, helping to avoid any puckering. Using specific techniques, like double-turned hems, contributes to durability and enhances the aesthetic appeal of my window treatments. As I continue to refine my sewing skills, I appreciate how meticulous attention to detail not only provides satisfying results but also showcases my craftsmanship to anyone who sees my work, potentially turning them into enthusiastic followers of my affiliate marketing journey.
Accessorizing Your Window Treatments Without Breaking the Bank
Accessorizing window treatments can elevate their overall appearance without overspending. I take pride in discovering affordable yet stylish curtain rods and rings that perfectly complement my chosen fabrics. By incorporating DIY decoration ideas, I can enhance my window treatments creatively and uniquely. Mixing and matching different textures and colors allows me to design a custom look that reflects my personality while staying budget-conscious. For instance, I might incorporate vibrant hues or playful patterns, reminiscent of shower curtains, that breathe life into my space. With a little imagination and resourcefulness, I can transform simple roller shades into eye-catching features that enhance the beauty of any room.
Selecting Affordable Yet Stylish Curtain Rods and Rings
As I search for affordable yet stylish curtain rods and rings, I often consider the impact of materials and finishes. Opting for metal rods provides a sleek, modern look, while wooden options afford a warm, classic feel that blends seamlessly with my décor. I’m always on the lookout for interesting designs, like decorative finials that can add both flair and personality to my window treatments.
I find that shopping at discount home improvement stores and browsing online marketplaces often leads to unexpected treasures. Many of these retailers offer stylish rods and rings at competitive prices, allowing me to create an elegant atmosphere without overspending. Investing time in finding the right accessories enhances the overall aesthetic of my window treatments and reflects my personal style beautifully.
DIY Decoration Ideas to Enhance Your Window Treatments
To give my window treatments a unique touch, I often turn to DIY projects that inject personality into the design. For example, I like to create fabric tassels from scrap materials, which can be hung from curtain rods or added to the edges of drapes. These small details can transform the entire look of the room and make my window treatments truly stand out without adding significant costs.
Another creative idea I enjoy is layering sheer curtains over solid ones. This technique not only adds depth and dimension to the decor but also allows for easy light control. By mixing colors or patterns that resonate with my interior style, I can achieve a custom look that enhances the aesthetic appeal of my window treatments while keeping my budget in check.
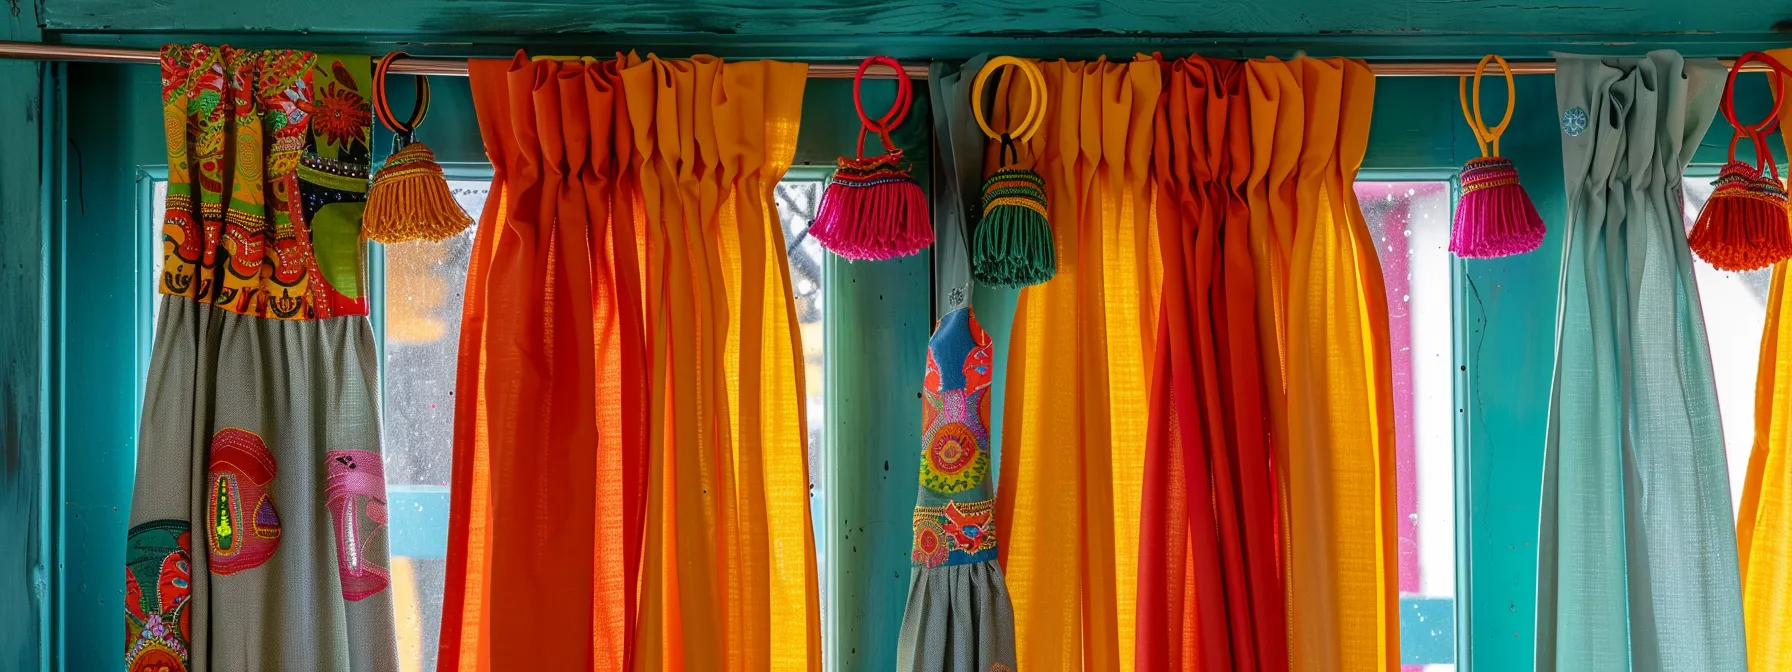
Mixing and Matching Textures and Colors for a Custom Look
When I approach the task of mixing and matching textures and colors, I aim to create a harmonious balance that feels cohesive throughout my space. I often select fabrics with different patterns and finishes, such as pairing soft cotton with linen or sheer lace overlays, which adds depth and interest to my window treatments. This method gives my rooms a layered look, enhancing their overall design without overwhelming the eye.
I also pay attention to color coordination, carefully choosing shades that resonate with the existing decor. By incorporating accents in complementary hues or using bold patterns as a statement piece, I find that I can infuse life into my window treatments. This thoughtful approach not only makes my space feel more inviting but also helps reflect my personal style while staying mindful of my budget.
Installing Your DIY Window Treatments Like a Pro

Equipping myself with the right tools and preparing my workspace sets the tone for a successful installation of DIY window treatments. I find that having everything organized and within reach—like my drill, measuring tape, and level—streamlines the process, making it less overwhelming. Following straightforward steps to hang curtains and drapes has proven effective, allowing me to achieve a polished look that adds elegance to my space. I also keep in mind that adjustments may be necessary, so I approach common installation hurdles with a problem-solving mindset, ensuring that the final result meets my design vision while remaining functional. With this preparation, I can confidently move forward, turning my creative ideas into beautiful reality as I elevate my home’s aesthetic.
Preparing Your Space and Tools for Installation
Before starting the installation of my window treatments, I make sure my workspace is neat and organized. I gather all necessary tools, such as my drill, level, measuring tape, and screws, and lay them out within easy reach. This preparation minimizes distractions and helps me focus on achieving a flawless result.
I also take a moment to assess the installation area to ensure it’s clear of any obstructions. By moving furniture and decorative items away from the windows, I create a safer environment that allows me to work efficiently. This small step pays off by making the entire process smoother, allowing me to concentrate on perfecting the placement of my new window treatments.
Easy-to-Follow Steps for Hanging Curtains and Drapes
To hang my curtains and drapes seamlessly, I begin by measuring the desired height and width from the window frame. Using a pencil, I mark the spots where the brackets will go, ensuring they are level and symmetrical for a polished look. After securing the brackets firmly into the wall, I can confidently slide the curtain rod through the fabric and set it in place, creating an instantly transformed area.
As I adjust the curtains to achieve the perfect draping effect, I take a moment to step back and assess the overall aesthetic. If adjustments are needed, I carefully realign the fabric to ensure it hangs beautifully and functions efficiently. This hands-on approach not only enhances the installation process but also allows me to personalize the final presentation of my window treatments.
Adjusting and Troubleshooting Common Installation Issues
When I encounter issues during the installation of my window treatments, I take a moment to reassess my approach. Sometimes, uneven hangs can arise from incorrect bracket placement, requiring me to loosen the screws slightly and recalibrate the rod’s positioning. By making small adjustments, I ensure that my curtains drape beautifully and function smoothly, creating the polished look I aim for.
Another common issue I face is fabric that doesn’t slide easily on the rod, which can disrupt the intended functionality. To remedy this, I often apply a touch of silicone spray to the brackets or use curtain rings with clips to improve movement. These proactive steps keep my window treatments not only visually appealing but also practical, allowing me to enjoy the elegance I’ve created without any hassle.
Conclusion
Crafting elegant window treatments on a budget empowers me to showcase my personal style without overspending. By carefully selecting affordable fabrics, exploring DIY projects, and understanding measurements, I create beautiful designs that enhance my living space. Incorporating repurposed materials and affordable accessories adds unique touches while maintaining cost-effectiveness. Ultimately, this process not only transforms my windows but also reflects my creativity and resourcefulness.